Standard 3 View
In making 3d design, we really need some views, so that complex designs can be easily understood
Drawing with Standard 3 View related standard orthography of the parts shown at the same time.
Alignment of top and side view is fixed in relation to the front display.
Top view can be moved vertically, and the display can be moved horizontally.
Top view and side corresponding to the front display. Right-click the top or side view and select the Navigation View Parent.
To create a Standard 3 View
Steps we need to do is:
Click New (Standard toolbar) or File, New.
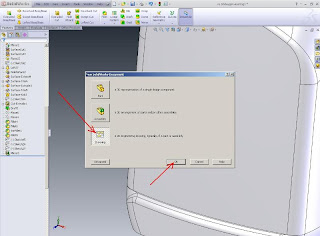
In the New SolidWorks Document dialog box, select Drawing, then click OK.
Select options Sheet Format / Size, then click OK.
In the Model View PropertyManager, select a model from the Open documents.
Specify options in the PropertyManager, then place the view in the graphics area.


Posting Komentar untuk "Standard 3 View"